Getting started
How to Make Short Videos with Clippex: A First-Clip Guide
Create your first short video in Clippex. Choose a source, set captions and framing, review AI-selected scenes and download a clip ready for publishing.
Who this is for
New Clippex users turning an existing recording into their first short video.
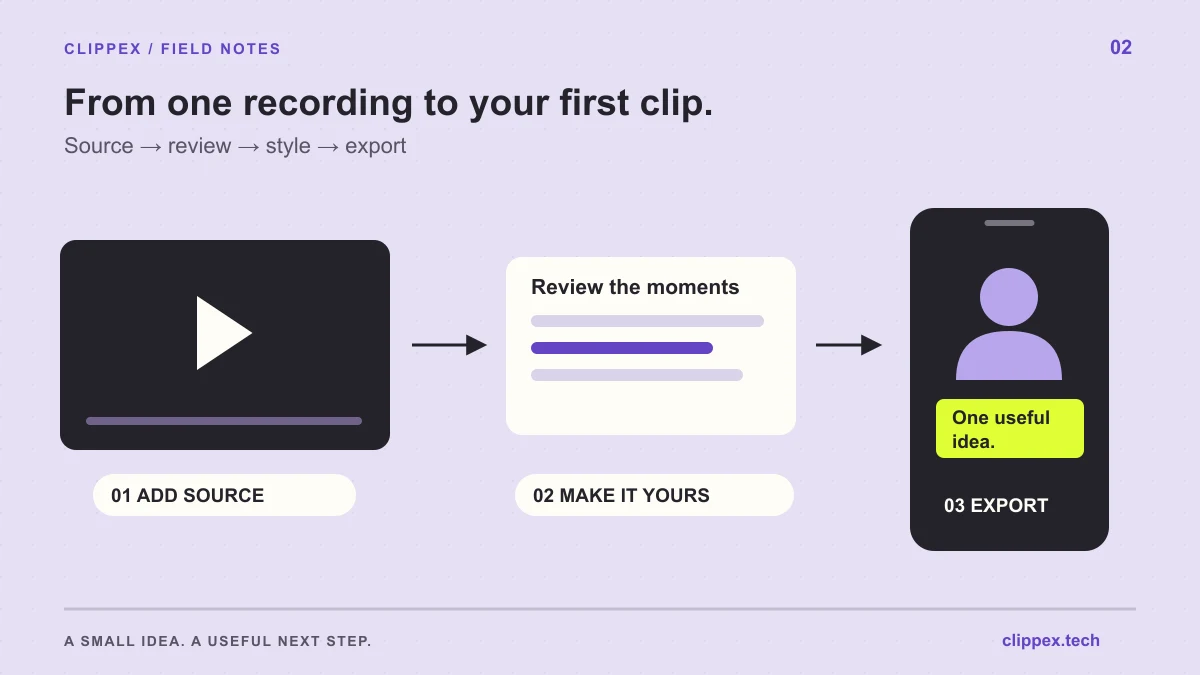
To make a short video with Clippex, bring a recording, choose the output settings, review the scenes and download the clips you want to publish. The editing decisions are easier when you begin with one viewer question. This guide follows that process from source selection to a final playback check.
Your first successful output is one understandable clip with accurate captions and a clear ending.
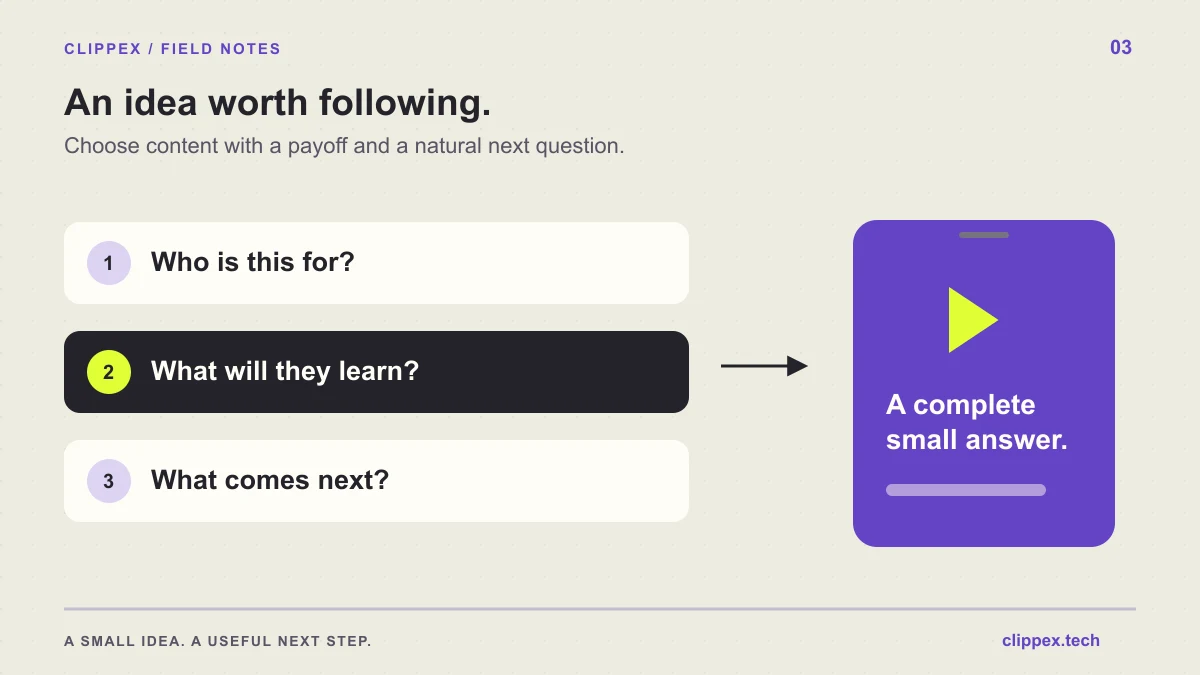
1. Choose a source with one useful answer
Start with a video you own or have permission to use. A focused interview, lesson, webinar or demonstration with clear speech is a practical first source. Listen for one complete answer rather than choosing a recording only because it is long.
Write down the audience question in plain English. For example, a cooking lesson could answer how to tell when a pan is ready. The source should contain both the explanation and the visible result. If the recording refers to an earlier demonstration, choose a segment with enough context to understand that reference.
2. Add the video to a Clippex project
Sign in and start a project from your dashboard or project library. Upload the original video file, or paste a supported public source link such as a public YouTube video. Use the original file when your link is unavailable or the source requires access that the importer cannot use.
Check the selected source before starting. A descriptive project name helps when you return to several recordings later. Review the credit estimate and your available balance, especially for a long recording. Credits depend on source duration and processing choices, rather than only the length of your finished clips; the pricing page explains the current model.
3. Choose the output you need
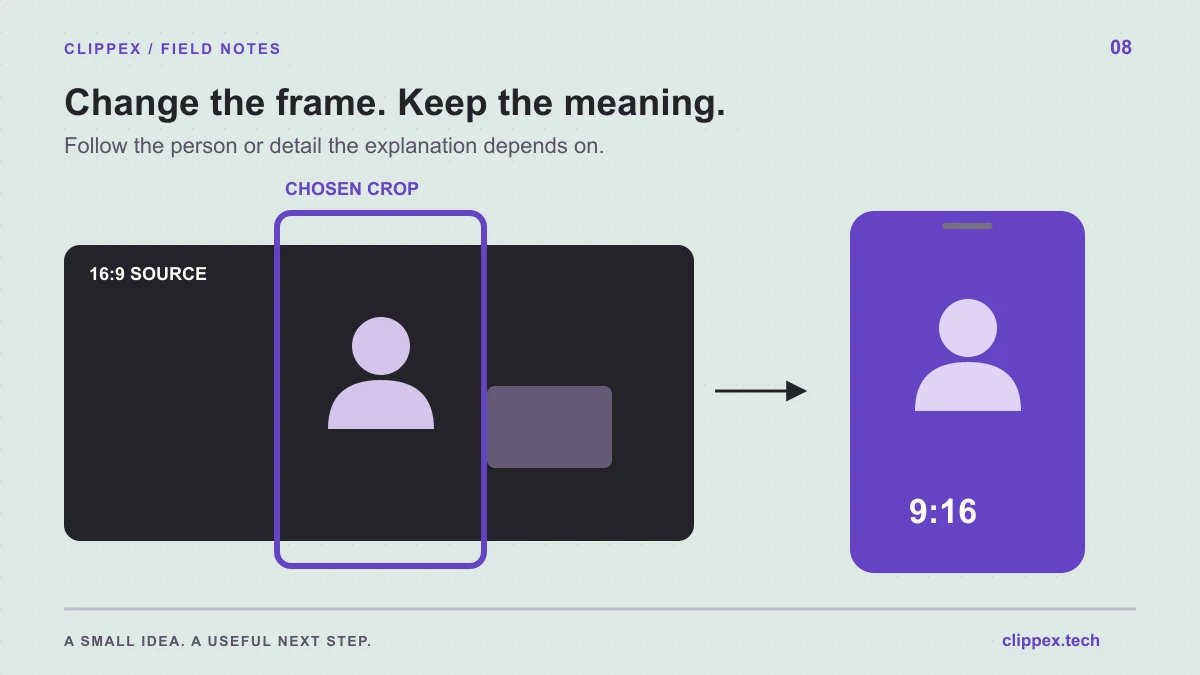
Set the framing, captions and clip length for the material. Vertical 9:16 is a useful choice for a vertical social feed. Square 1:1 and landscape 16:9 are available when they better suit the destination or the information on screen. A slide with small text may need a different layout from a talking-head interview.
Best scenes is a focused starting point for a first pass. Broader scene selection can produce more material to review, but more output is not automatically more useful. Choose a readable caption preset and place branding so it does not compete with the speaker or demonstration.
4. Review the selected scenes as a new viewer
Let Clippex process the source, then watch the resulting moments. AI selection is a shortlist for your judgment. Ask whether the first sentence identifies the subject, whether the middle delivers a useful point and whether the ending completes the thought.
Reject an impressive-sounding line if it changes the meaning of the original discussion. Check pronouns such as 'this' and 'they': a new viewer needs to know what they refer to. If a candidate needs substantial restructuring, choose another scene or finish that edit in your usual editor.
- Can someone understand the clip without the full recording?
- Does the picture show what the explanation depends on?
- Are names, numbers and specialist terms correct?
- Does the clip finish after the answer, rather than in the middle of it?
5. Check and download the finished video
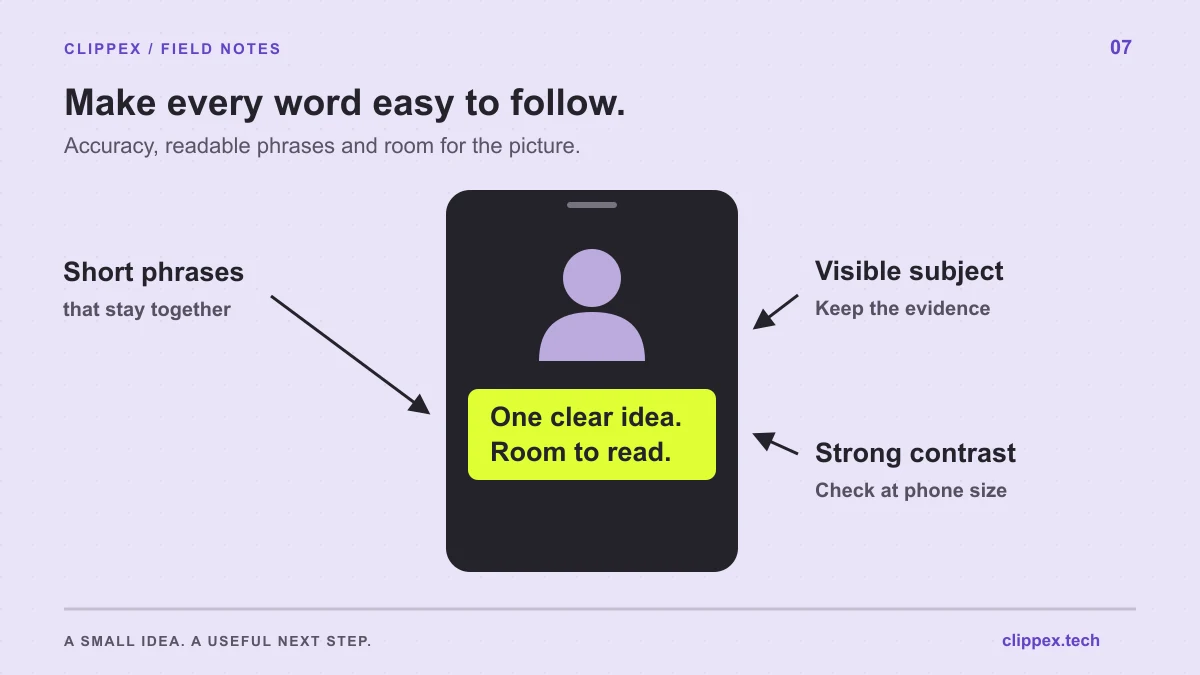
Watch the finished output from beginning to end, including its opening and closing frames. Check that the crop follows the important subject, captions remain readable and audio does not disappear at a cut. Preview at roughly phone size; text that looks comfortable on a large monitor can be difficult to follow in a feed.
Download the clips you want to use and keep the source recording. Clippex prepares downloadable videos; publishing happens in the destination platform. Add the title, post description and any platform-specific settings there, then preview the upload with that platform's controls visible.
6. Give the viewer a relevant next step
Name the next piece of value instead of ending with a generic demand to follow. If the clip explains one interview technique, point to the full preparation guide or the episode where it is demonstrated. Check that the destination exists and is easy to find before the post goes live.
For your first project, stop after a small set of strong clips. Note the questions viewers ask and use them to choose the next source. The point is to learn a repeatable workflow that produces understandable videos, then expand it when the results justify the extra editing time.