Editing & publishing
How to Reframe Horizontal Video for Vertical Shorts
Turn landscape footage into vertical shorts while keeping faces, slides and demonstrations visible. Learn what to check before exporting a 9:16 clip.
Who this is for
Creators adapting landscape interviews, lessons and demonstrations for vertical feeds.
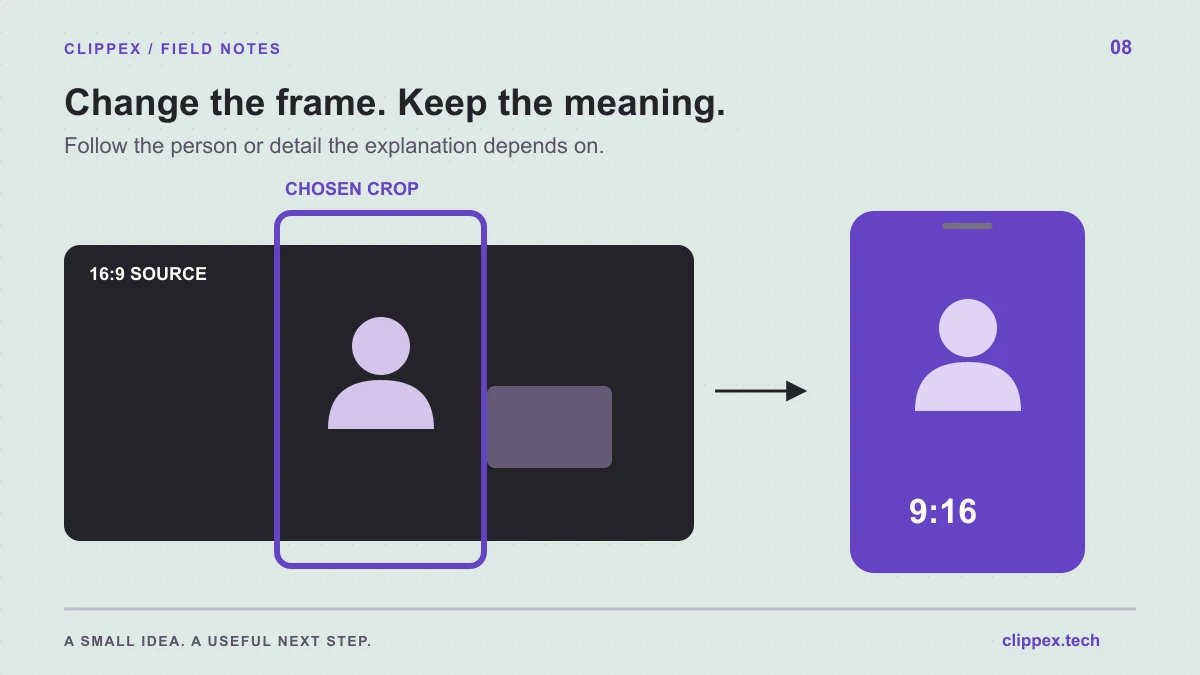
Reframing horizontal video to vertical means deciding which visual information must stay on screen. Selecting a 9:16 output changes the shape of the frame; it does not decide what matters in the lesson or conversation. Review the speaker, their movement and every detail the explanation depends on.
Crop around the information the viewer needs, then inspect every change of speaker or visual focus.
Identify what the viewer must be able to see
Watch the source and make a quick list of essential visual information. A talking-head clip may mainly need a face and gestures. A product demonstration may depend on hands and a small control. A software lesson may require a menu, a cursor and the result of a change.
Use that list to judge the crop. A frame can look attractive while hiding the very detail that makes the explanation useful. If the spoken line says 'click this setting,' the setting needs to be visible and readable when the instruction is given.
Choose the output shape for the destination and material
Clippex supports 9:16, 1:1 and 16:9 output. Vertical 9:16 is a practical starting point for vertical feeds, while square or landscape may better preserve some sources. Choose the shape before finalizing caption placement so text and subjects can be reviewed together.
A vertical crop uses only part of a wide source when filling the frame. Avoid assuming that a high-resolution original makes every crop readable. Small text, distant objects and wide diagrams can remain difficult to understand even when the exported file has ample pixels.
For speakers, check movement and turn-taking
Keep the person speaking comfortably framed, with enough room for natural movement. Review moments when they lean, turn, gesture or lift an object. A static preview can miss the instant when a face or demonstration leaves the frame.
For two-person conversations, inspect speaker changes. A close crop on one person may hide the questioner or a reaction that carries the point. If the selected layout loses important context, adjust your framing choices or use a different composition in your finishing editor.
For lessons and demos, protect the evidence
Slides and screen recordings need special care. Enlarging a wide slide until it fills a vertical frame may remove headings, labels or the result on the opposite side. Identify the precise region being discussed and check that it remains readable during that passage.
Sometimes the best solution is a different source segment, a separately recorded close-up or a layout that preserves the wider demonstration. Do not force a vertical crop when it would make the lesson incomplete. A short introduction can instead lead viewers to the full demonstration in its original format.
Place captions and branding after checking the picture
Captions, logos and banners all occupy part of the usable frame. Keep them from covering a key gesture or the result of a demonstration. A layout that works for an interview may need a different caption position for a hands-on lesson.
Leave comfortable space around important text and inspect the post preview inside the destination app. Its controls and description can cover parts of the picture. Use your template to save setup time, then verify each clip in the actual publishing context.
Review the moving export at phone size
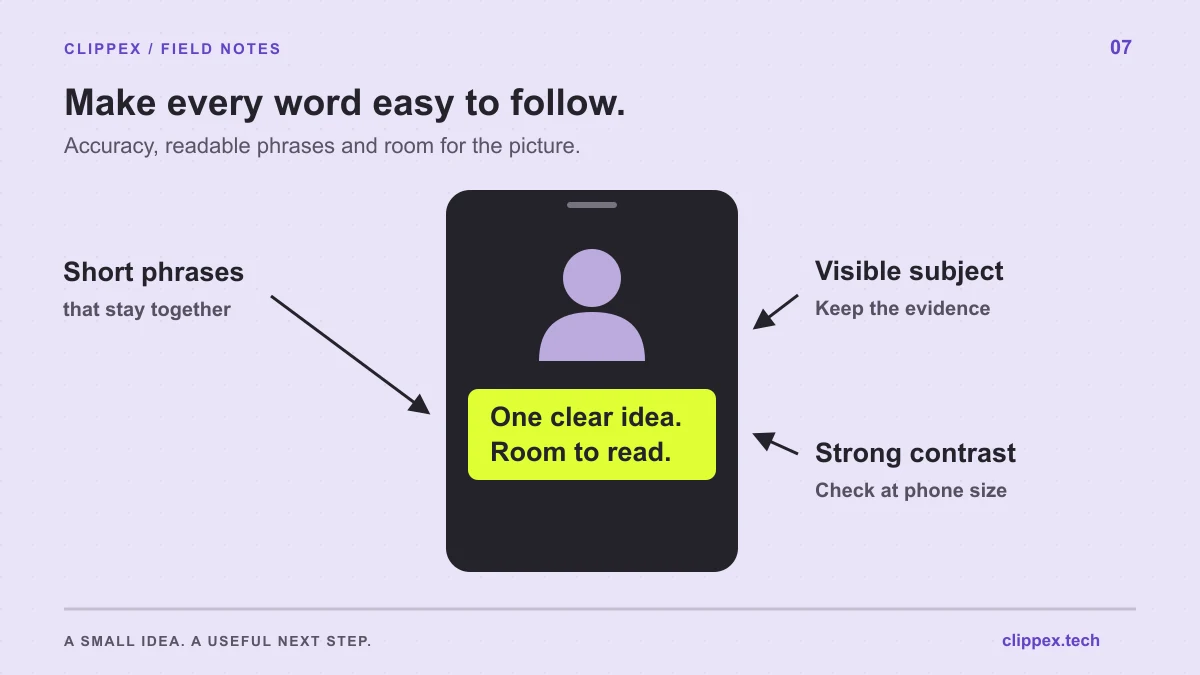
After creating a Clippex output, watch the downloaded video from beginning to end at a size similar to a phone display. Look for abrupt framing changes, missing objects, cropped text and moments when the caption competes with the demonstration.
If the edit requires you to explain what is outside the frame, revise it before publication. A successful vertical adaptation makes the original point easier to encounter without removing the information needed to understand it.